Death Run 3D
Games You May Like
Death Run 3D: A Neon Tube, Sliding Blocks, and Half a Second to Decide
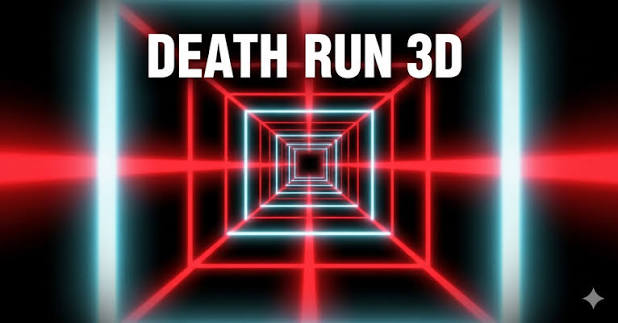
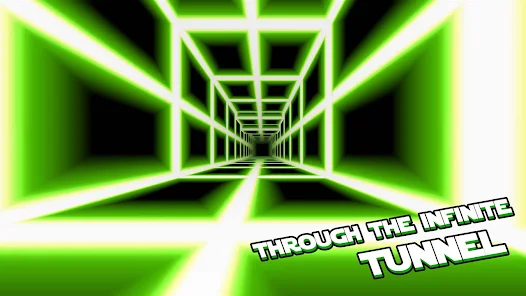
Death Run 3D drops you inside a square neon tunnel and fires you down it. Blocks fill the tube ahead, most of them movable, and the gaps between them are narrow enough that reading one correctly is genuinely an achievement. Touch anything and the run is over instantly — no lives, no shield, no second chance. Your score freezes exactly where you died.
And it never settles down. The longer you survive, the faster it goes, so the reflexes that carried you through the first thirty seconds are already too slow by the ninetieth. That is the whole design, and it is why a game with one rule and four buttons has kept a global leaderboard busy for over a decade.
Controls
- ⬅️➡️ Left / Right (or A / D): Dodge sideways. This is the key you will use ninety percent of the time.
- ⬆️ Up (or W): Glide slightly forward — useful for slipping through a gap that is closing rather than waiting for it.
- ⬇️ Down (or S): Re-centre yourself. After a scramble leaves you pressed against a wall, this is how you get back to a position with options.
Four directions, no jump, no brake. You cannot slow down and you cannot stop — the only thing you control is where in the tunnel cross-section you are when the next wall of blocks arrives.
Four Tracks, All Unlocked From the Start
There is no progression gate here. All four tracks sit on the main screen from your first launch, and you can pick any of them in any order — but they are wildly different in what they ask of you.
- 🟢 Maelstrom — the classroom. Fewer obstacles and a noticeably slower base speed. This is where you learn to read depth in the tunnel and stop panicking at every block. Do not skip it out of pride.
- 🟡 Superluminal — the reflex test. Packed with movable square blocks that emerge from the tunnel walls without warning. You cannot see these coming and you cannot plan around them. This track is pure reaction time, and nothing else will save you.
- 🟠 Hyper Maelstrom — the same, but immediately fast. Maelstrom’s layout with the training wheels removed: you start at high speed and the obstacle density is far heavier from the first second.
- 🔴 Hyper Superluminal — the wall. Superluminal with nastier, trickier block patterns on top. This is the track people record and post, and the one where a five-figure score actually means something.
The Two Kinds of Block — and Why It Matters
This is the piece most players never articulate, and it changes how you should play. The tunnel throws two distinct threats at you:
Visible obstacles are already in place as you approach. You can see them from a distance, judge the gap, and line yourself up early. These reward planning — look far down the tube and start moving before you need to.
Ambush obstacles only appear once you are nearly on top of them, sliding out of the walls with almost no warning. These punish planning: if you have committed hard to one side of the tunnel, you have nowhere to go. These reward staying flexible.
Both types can be static or moving. The Maelstrom tracks lean toward the first kind, the Superluminal tracks toward the second — which is exactly why a player who is excellent on one track can be hopeless on the other.
How to Survive Longer
- Look at the far end of the tunnel, not the block in front of you. By the time an obstacle fills your screen it is already too late to react to it. Depth reading is the entire skill of this game.
- Tap, do not hold. Holding a direction key overshoots the gap and slams you into the next block along. Short taps, constantly corrected, beat one big committed movement every time.
- Live near the middle of a face, not in a corner. A corner gives you exactly one escape direction. The middle gives you two, and against ambush blocks that second option is your life.
- Use Down to reset. After a messy dodge, re-centring costs you nothing and puts you back in a position with choices.
- Learn the tracks separately. Maelstrom teaches you to plan, Superluminal teaches you to react. They are different skills, and grinding one does not improve the other.
- Accept the speed ramp. Your timing will feel correct and then quietly stop working as the tube accelerates. Consciously tighten your inputs as the run gets long instead of wondering why you suddenly got worse.
- Do short sessions. This is a reflex game, and tired reflexes are just slow reflexes. Ten sharp attempts beat an hour of tilted ones.
It runs straight in your browser with nothing to install — pick a track, hold your nerve, and see how far down the tube you get before the neon catches you.
Hot Games

New Games

